> ## Documentation Index
> Fetch the complete documentation index at: https://docs.openfuturecoalition.org/llms.txt
> Use this file to discover all available pages before exploring further.
# Project Management
> Coordinate time-bound initiatives, track measurable impact, and manage collaborative workflows.
 [Create and Assign Tasks](#create-and-assign-tasks)
[Import Tasks](#import-tasks)
[Visual Management Tools](#visual-management-tools)
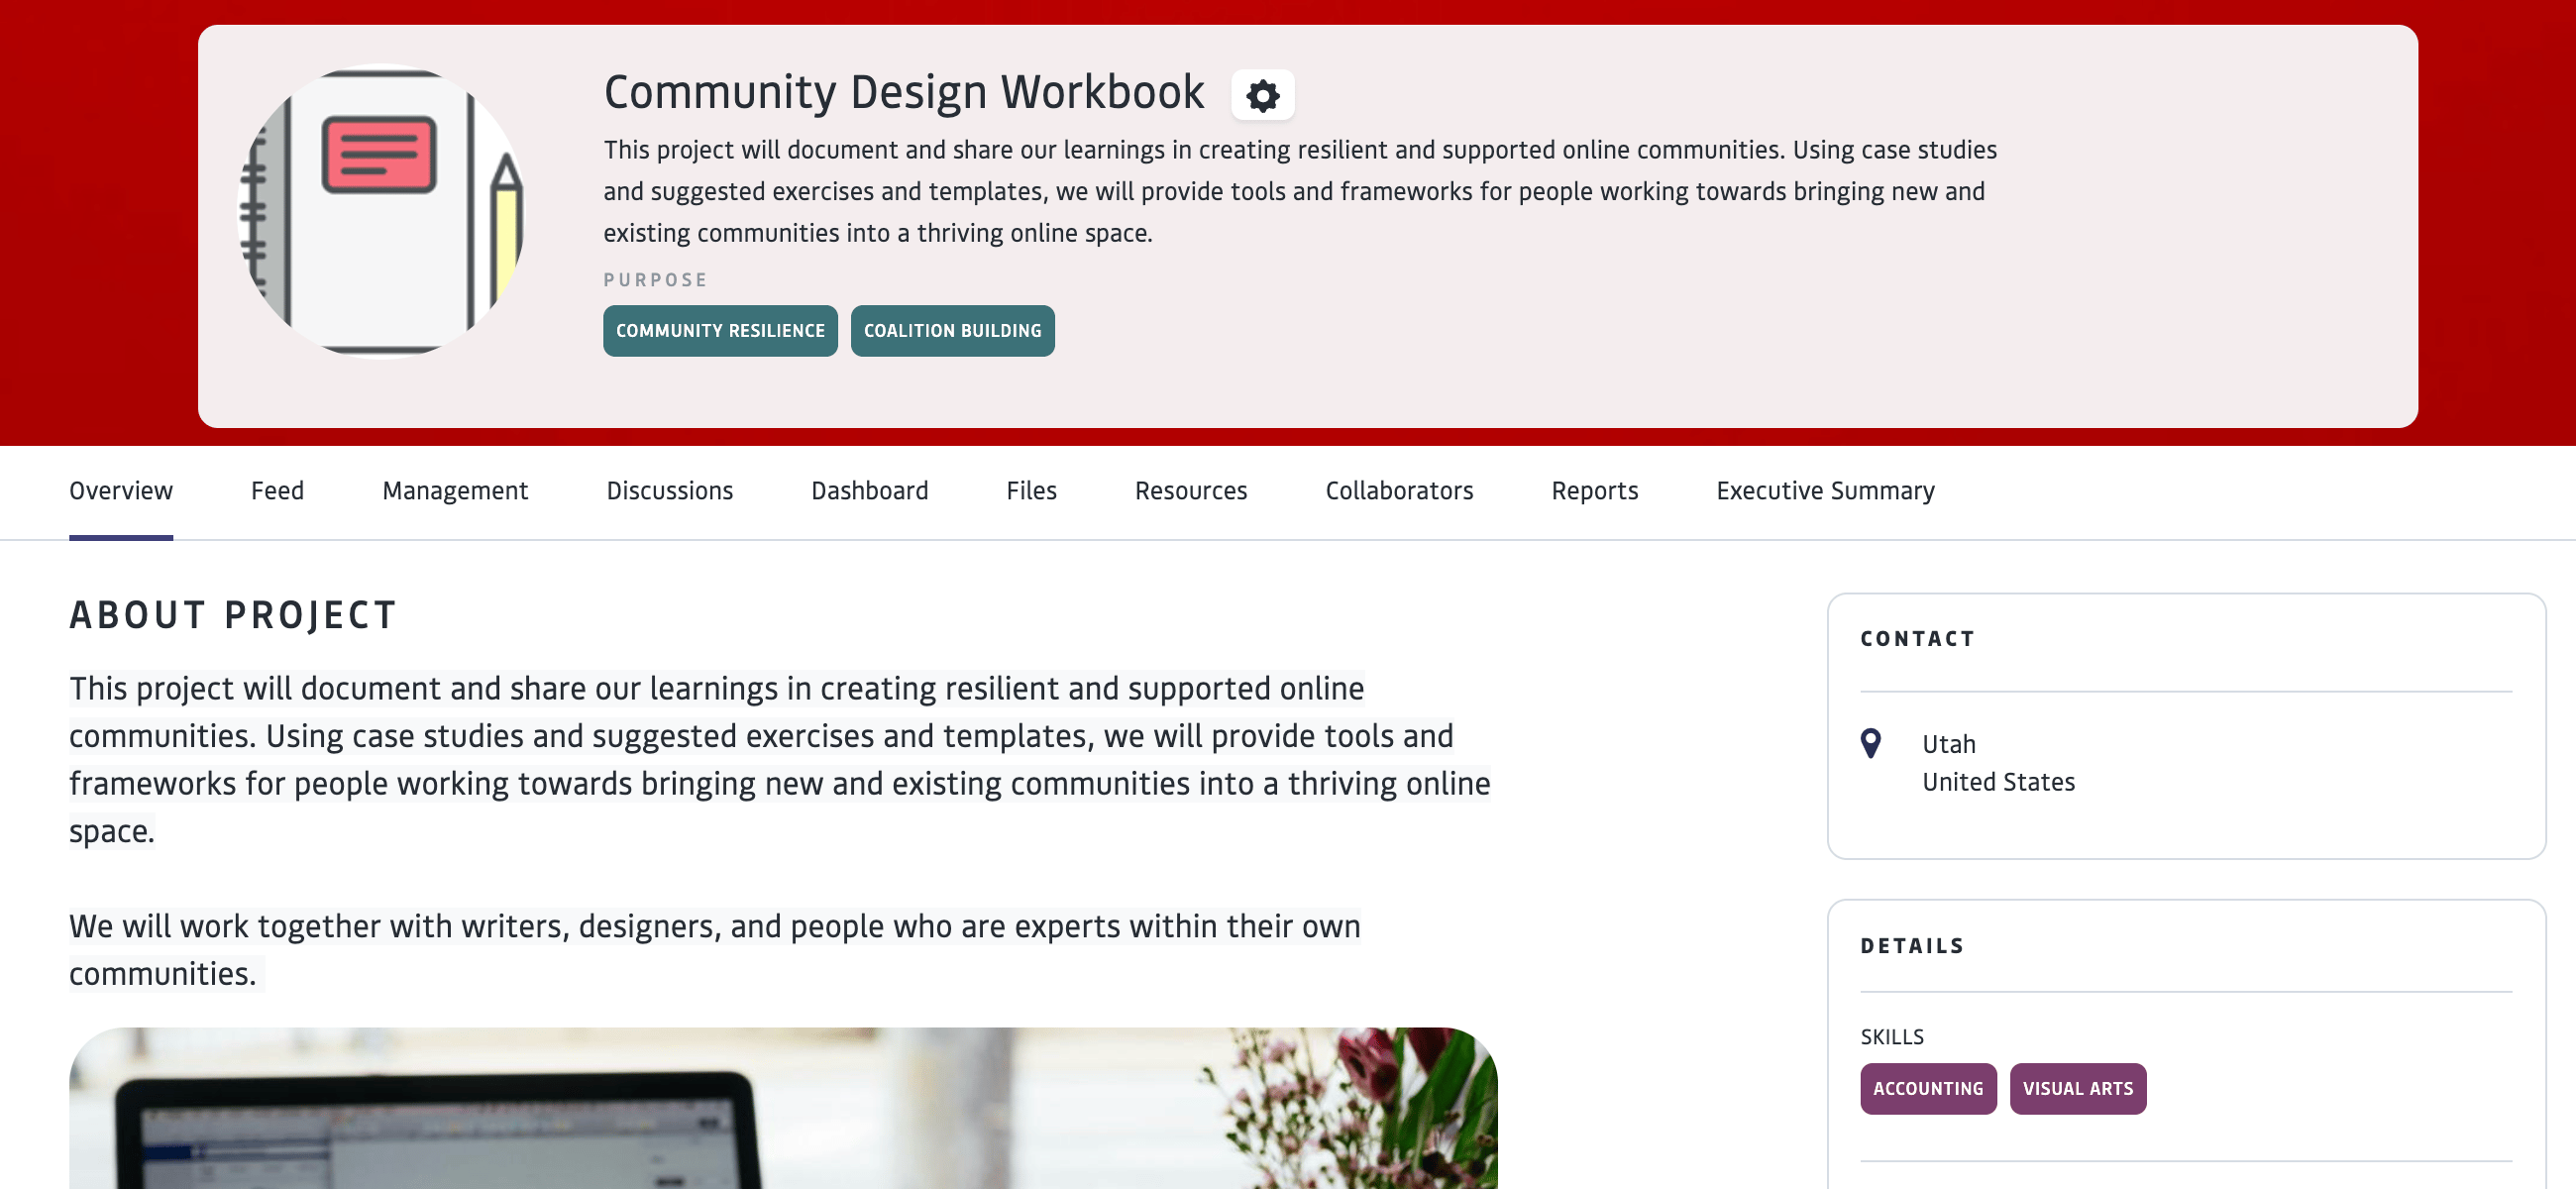
# About
The 'Management" element within Project spaces contains the operational project management tools unique to Project spaces. As a manager of a project, you can create, assign, and review tasks and use visual management tools.
# Create and Assign Tasks
[Create and Assign Tasks](#create-and-assign-tasks)
[Import Tasks](#import-tasks)
[Visual Management Tools](#visual-management-tools)
# About
The 'Management" element within Project spaces contains the operational project management tools unique to Project spaces. As a manager of a project, you can create, assign, and review tasks and use visual management tools.
# Create and Assign Tasks
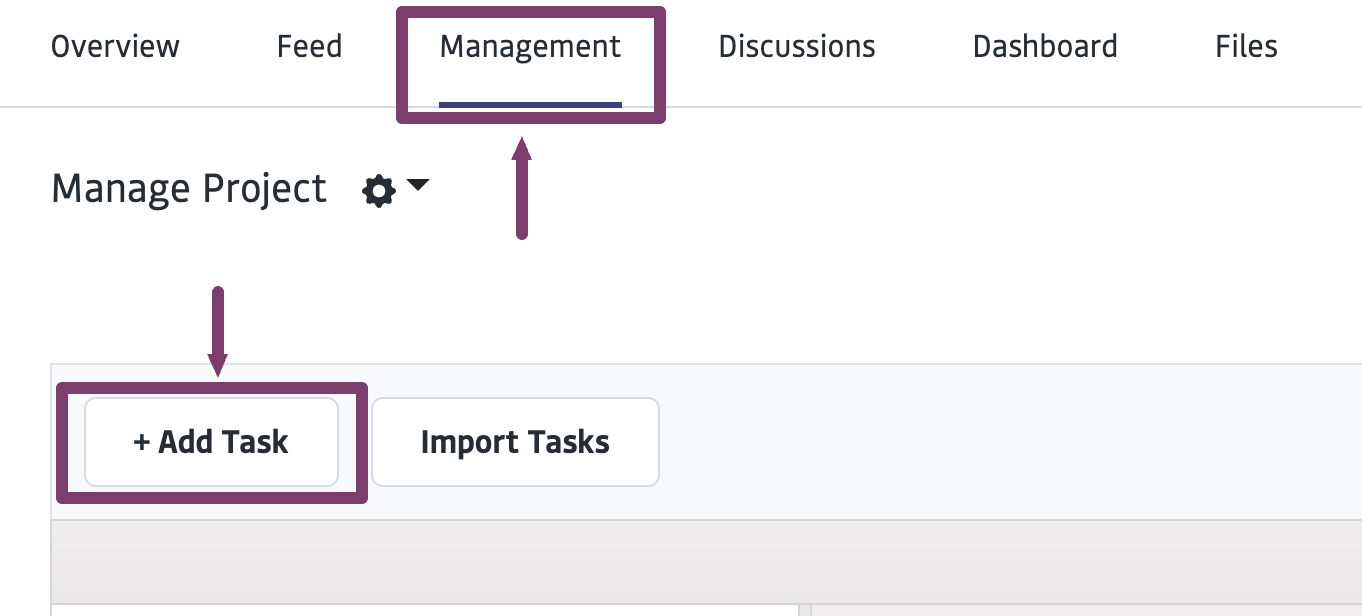 * **Select Manager:** This selects the organization that is governing the task
* **Select Collaborators Group:** You will choose which Group of collaborators to select from in order to populate the “Assignee” field. Your Organization will have set up various Groups - whether for internal coordination, or to coordinate with your collaborators. You can select the appropriate group (who is sponsoring the project) and where you have the appropriate team or community members organized in order to assign them tasks. (*Note- if you do not have the appropriate group set up with the collaborators added in order to assign tasks, please write to [support@openfuturecoalition.org](mailto:support@openfuturecoalition.org) and we can help)*
* Add additional information about your tasks, including assignees, priority level, start and end date, and attachments.
The task will now be listed on the Project’s “Management” tab. Refresh the page if you don’t see it. You can click to open it and view it.
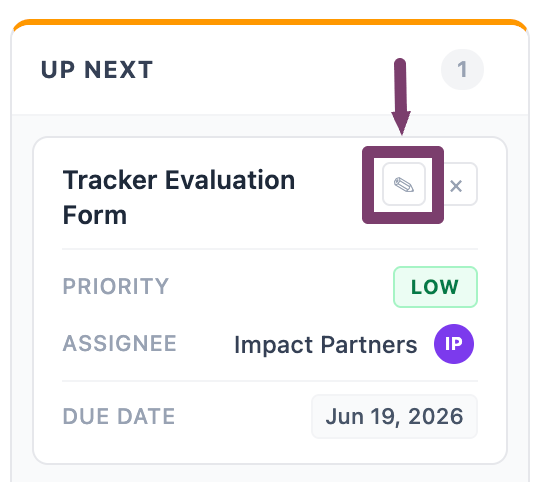
To further edit and assign each task to collaborators, click on the task in the list column, Gantt chart, or swimlane view. Edit the fields and click submit once you are done.
**Single vs Bulk Tasks**
Single Assign (Default): One task card is assigned to one or multiple people. If anyone hits "submit," the task is considered complete for everyone.
Bulk Assign: This clones the task into individual copies for every selected person. Each assignee works on and completes their own version independently (ideal for classroom settings, where each assignee must complete their own task).
# Import Tasks
Bulk import and edit tasks you have already created
* **Select Manager:** This selects the organization that is governing the task
* **Select Collaborators Group:** You will choose which Group of collaborators to select from in order to populate the “Assignee” field. Your Organization will have set up various Groups - whether for internal coordination, or to coordinate with your collaborators. You can select the appropriate group (who is sponsoring the project) and where you have the appropriate team or community members organized in order to assign them tasks. (*Note- if you do not have the appropriate group set up with the collaborators added in order to assign tasks, please write to [support@openfuturecoalition.org](mailto:support@openfuturecoalition.org) and we can help)*
* Add additional information about your tasks, including assignees, priority level, start and end date, and attachments.
The task will now be listed on the Project’s “Management” tab. Refresh the page if you don’t see it. You can click to open it and view it.
To further edit and assign each task to collaborators, click on the task in the list column, Gantt chart, or swimlane view. Edit the fields and click submit once you are done.
**Single vs Bulk Tasks**
Single Assign (Default): One task card is assigned to one or multiple people. If anyone hits "submit," the task is considered complete for everyone.
Bulk Assign: This clones the task into individual copies for every selected person. Each assignee works on and completes their own version independently (ideal for classroom settings, where each assignee must complete their own task).
# Import Tasks
Bulk import and edit tasks you have already created
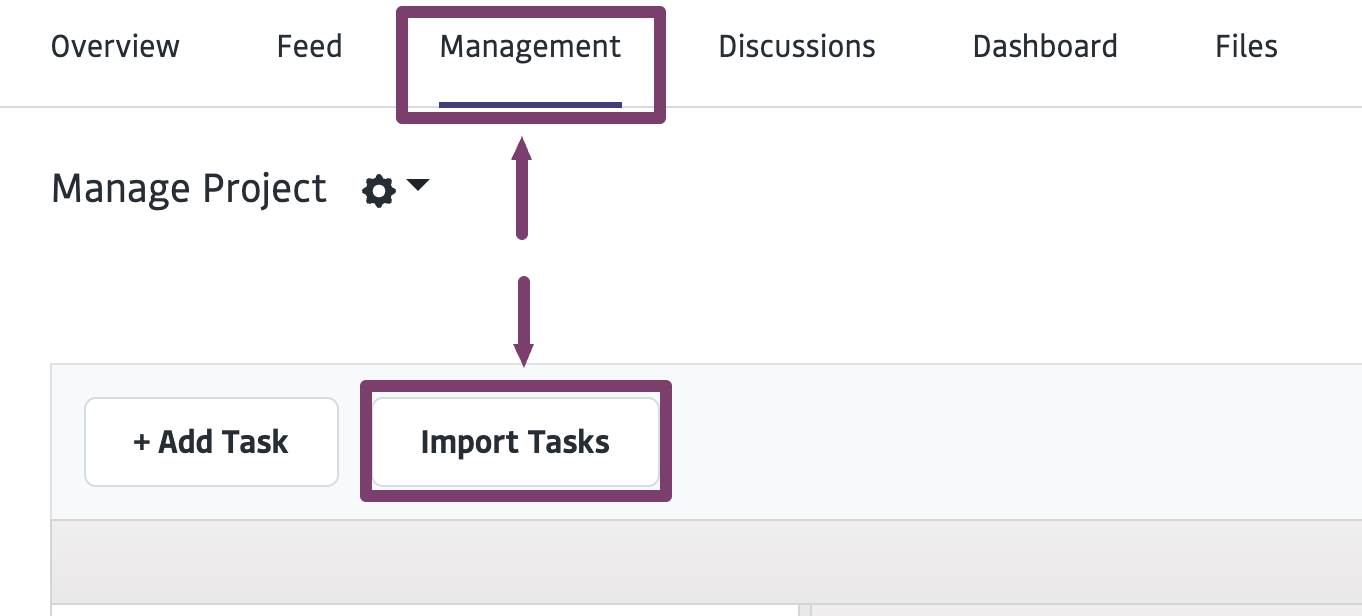 Either copy and paste tasks from an existing spreadsheet organized with the same headers ( Task Name, Description, Start Date, End Date) into line 2 of the spreadsheet in the platform or manually enter data into the fields in column 2.
To further edit and assign each task to collaborators, **click on the task** in the list column, Gantt chart, or swimlane view. Edit the fields and click submit once you are done.
Either copy and paste tasks from an existing spreadsheet organized with the same headers ( Task Name, Description, Start Date, End Date) into line 2 of the spreadsheet in the platform or manually enter data into the fields in column 2.
To further edit and assign each task to collaborators, **click on the task** in the list column, Gantt chart, or swimlane view. Edit the fields and click submit once you are done.
 To add additional tasks in a sequenced order to this list column- click “add below” or “add above” and add a new task with instructions above
# Visual Management Tools
The Gantt Chart and Swimlanes are both tools to visualize and manage tasks. Once tasks are added, they will be auto-populated to these views. Click on a task within either view to view task details or make edits.
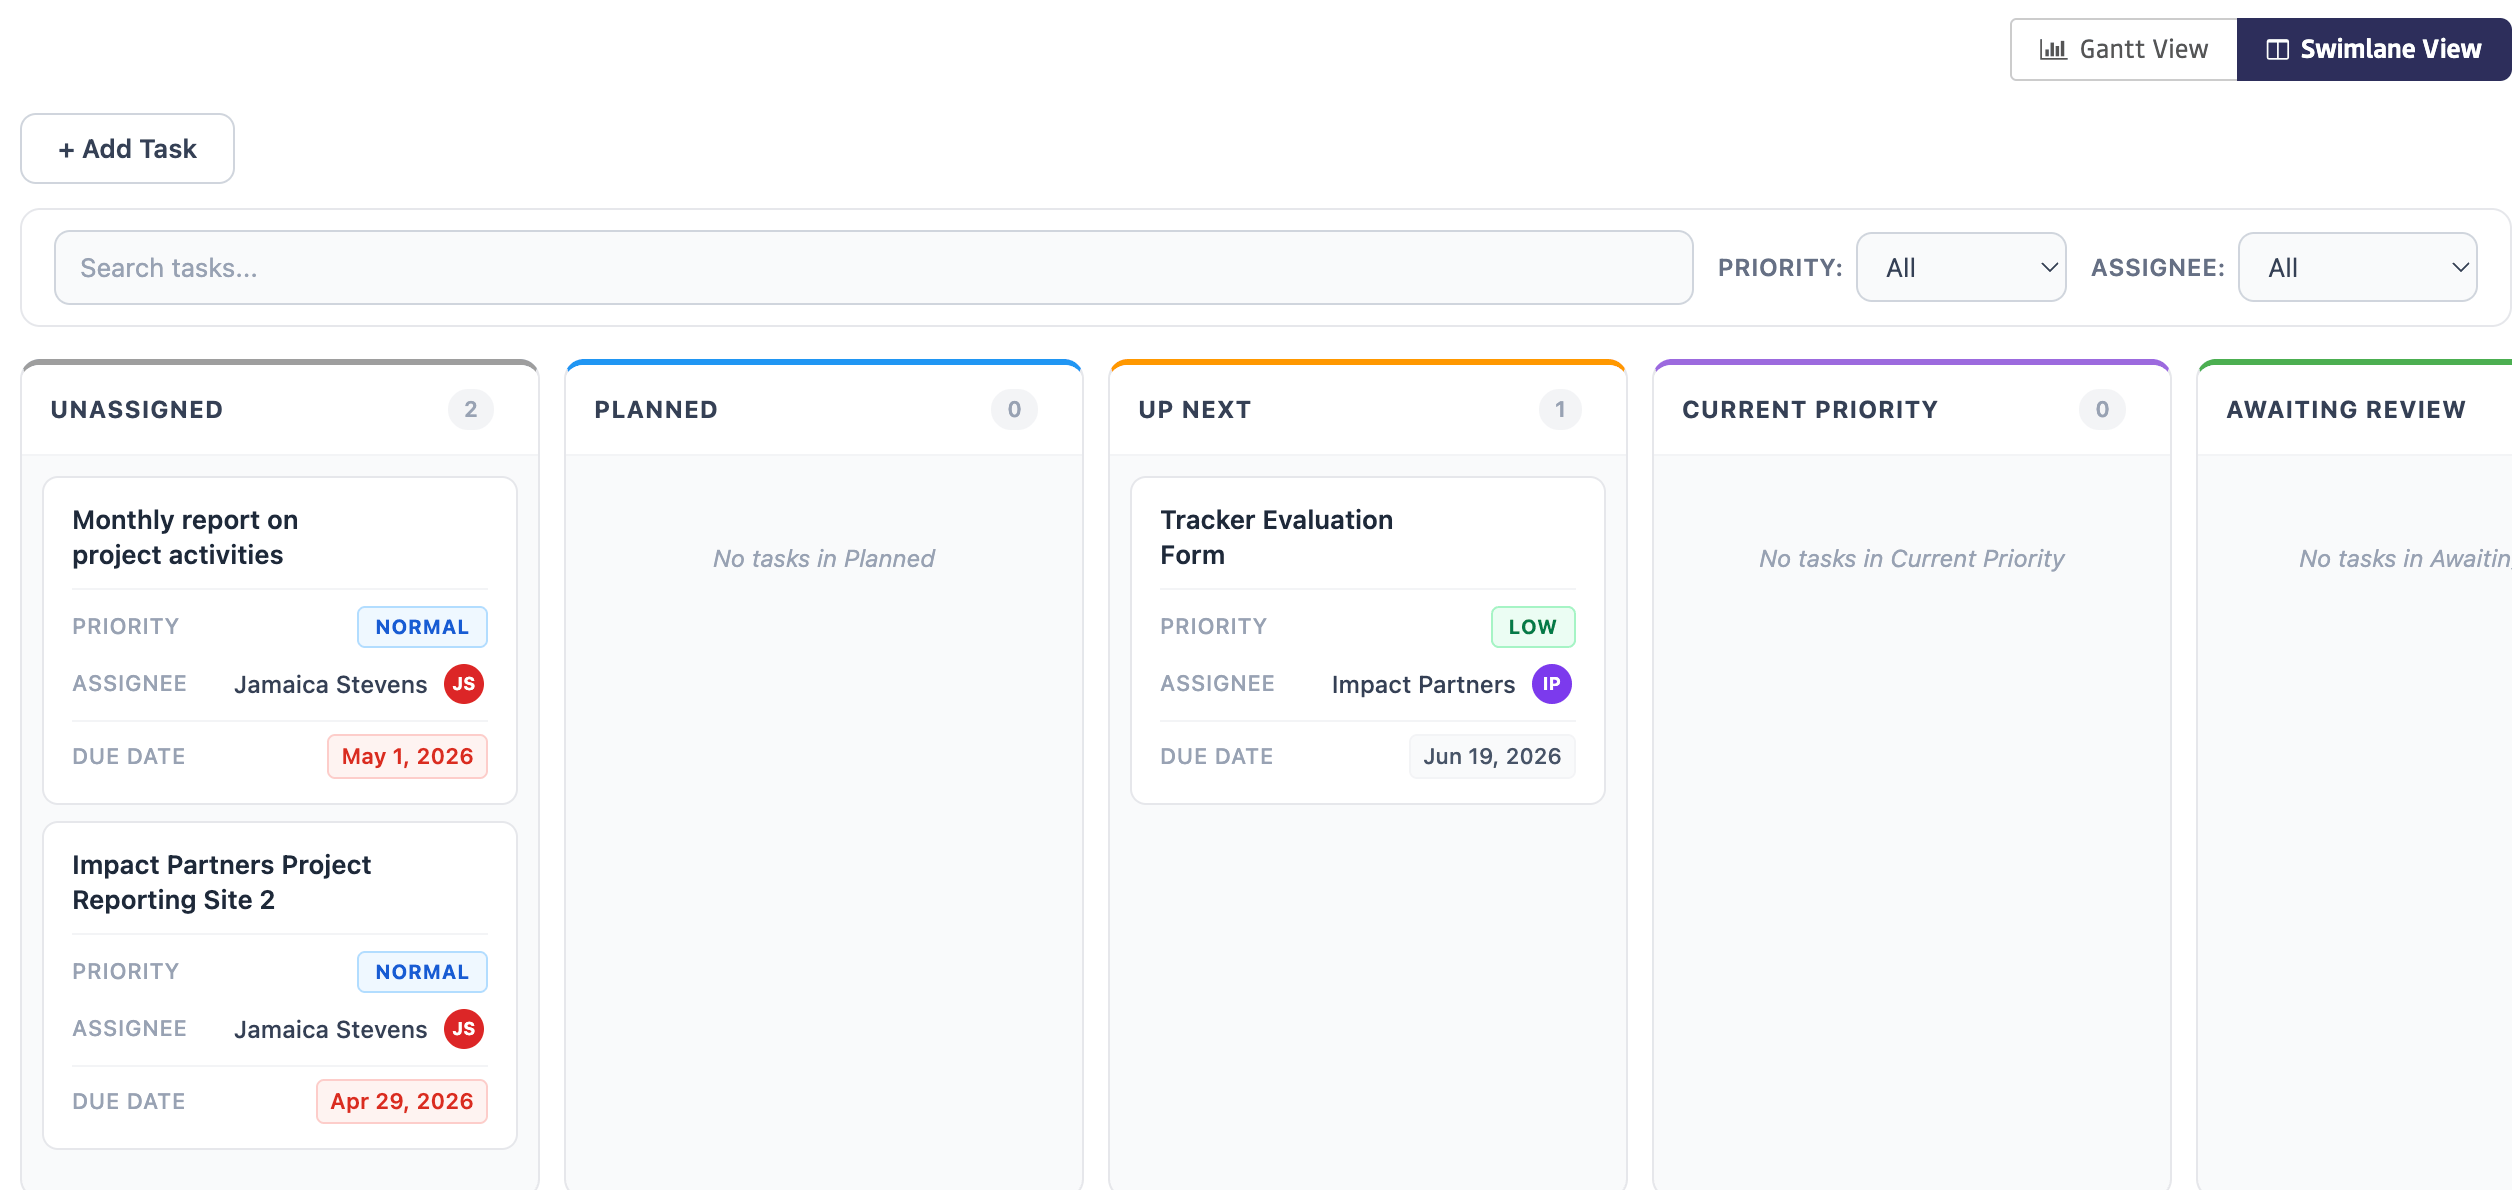
## **Swimlanes**
Visualizes task cards in two vertical columns based on status. You can quickly change a task's status by dragging and dropping it from one column into another. *The default swimlane statuses are selected and managed under project settings.*
To add additional tasks in a sequenced order to this list column- click “add below” or “add above” and add a new task with instructions above
# Visual Management Tools
The Gantt Chart and Swimlanes are both tools to visualize and manage tasks. Once tasks are added, they will be auto-populated to these views. Click on a task within either view to view task details or make edits.
## **Swimlanes**
Visualizes task cards in two vertical columns based on status. You can quickly change a task's status by dragging and dropping it from one column into another. *The default swimlane statuses are selected and managed under project settings.*
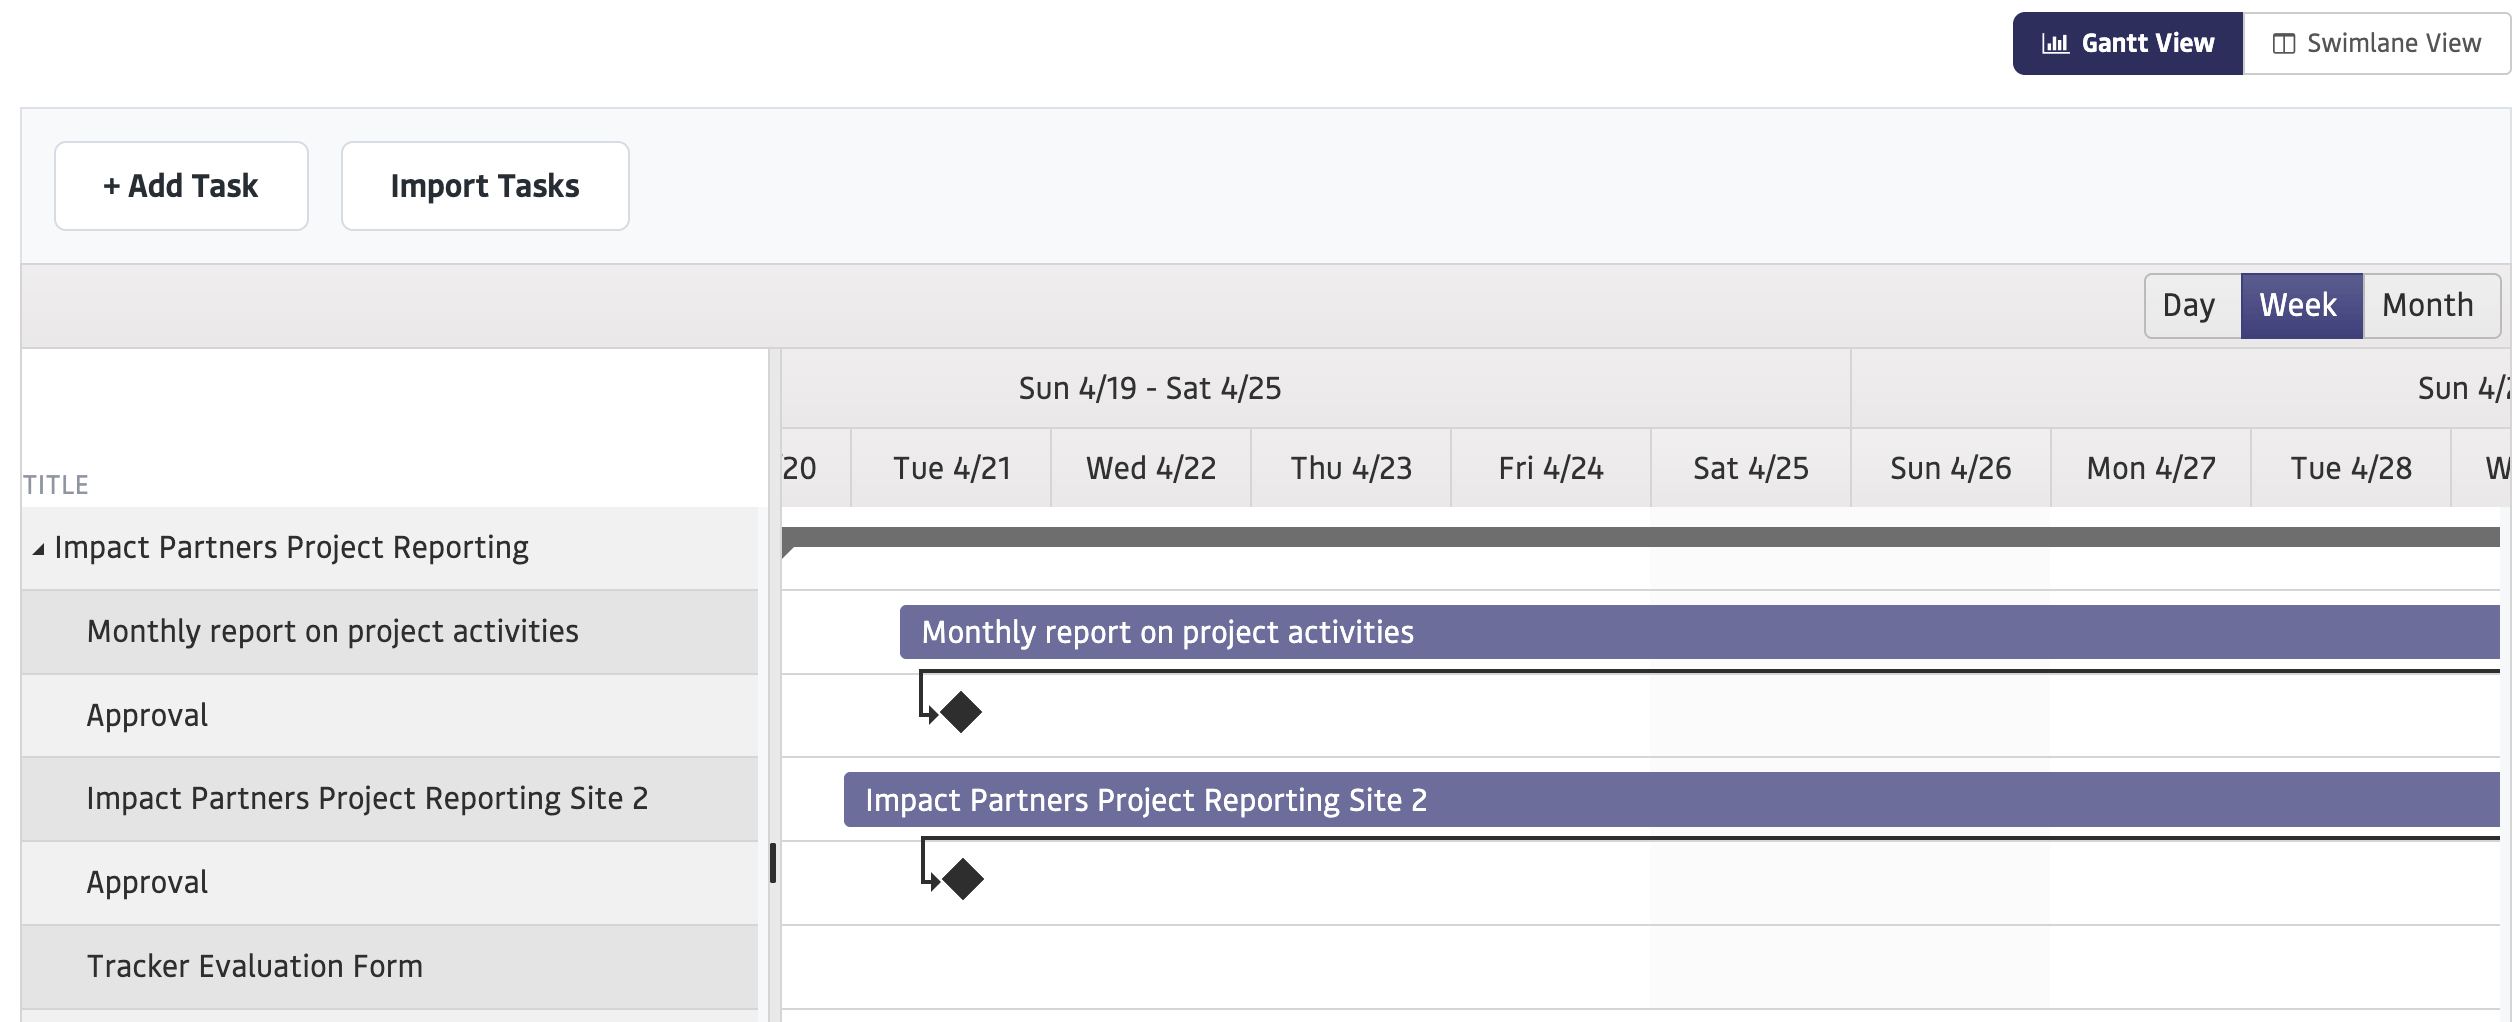
 ## **Gantt Chart**
Ideal for visualizing the sequence and duration of tasks. Users can view their work by day, week, or month. You can quickly click and drag task bars to update start and end dates.
## **Gantt Chart**
Ideal for visualizing the sequence and duration of tasks. Users can view their work by day, week, or month. You can quickly click and drag task bars to update start and end dates.
 # FAQ
# FAQ